December 2, 2012

DIY: Feather Earrings

Today, I will show how to make Stylish Feather Earrings For Stylish Women.
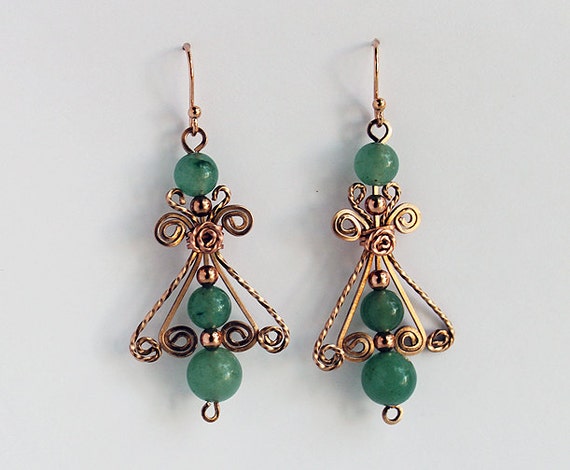
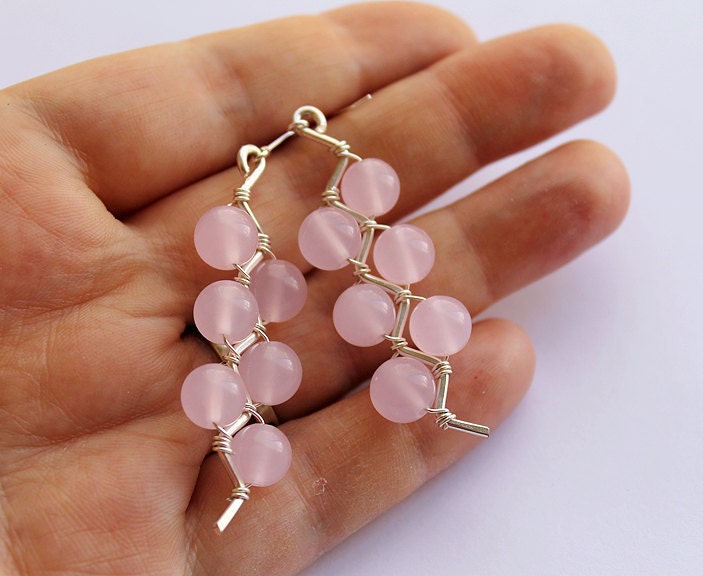
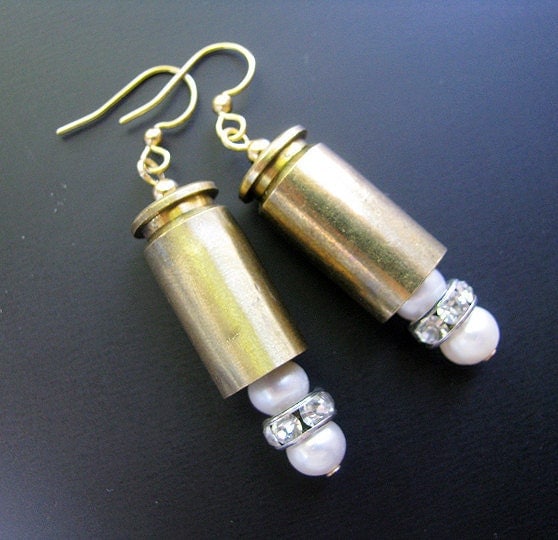
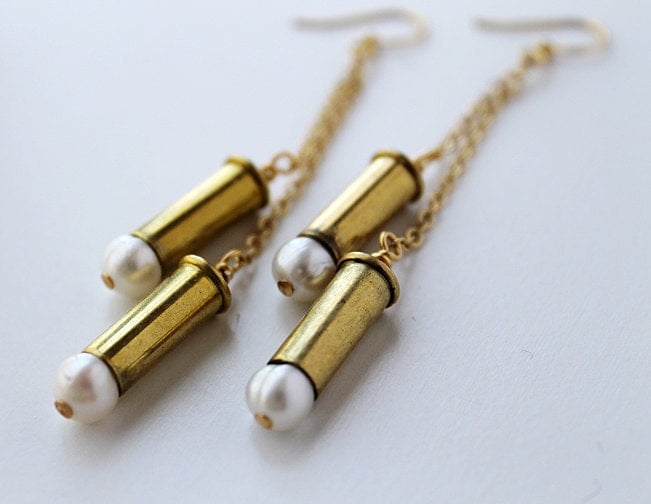
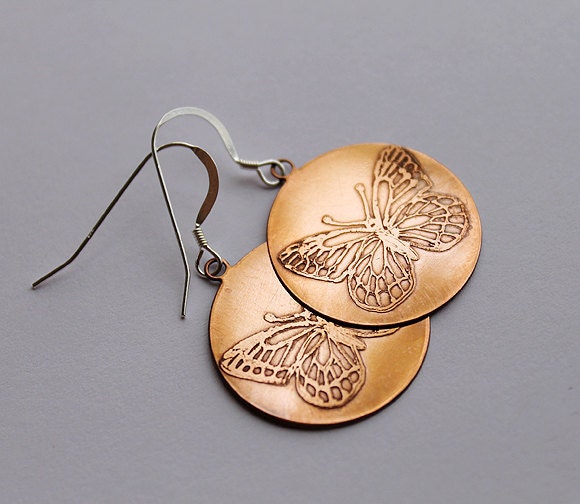
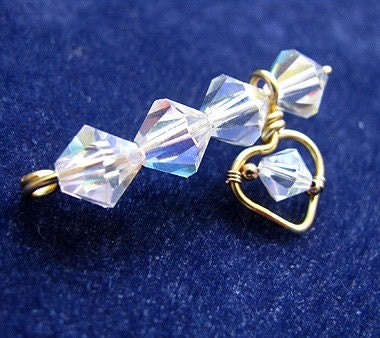
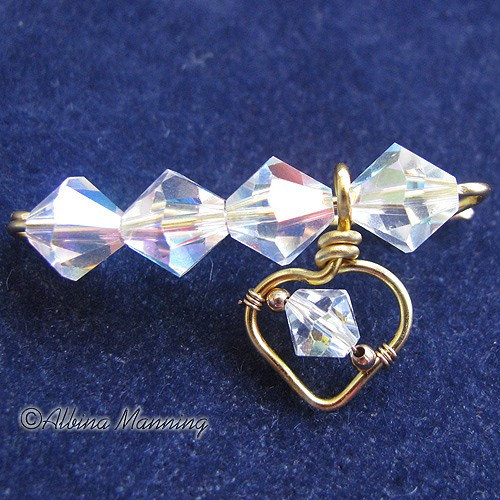
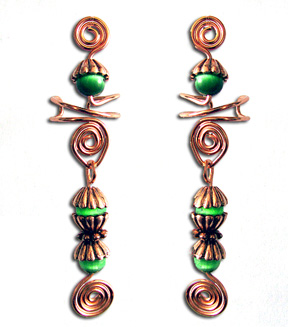
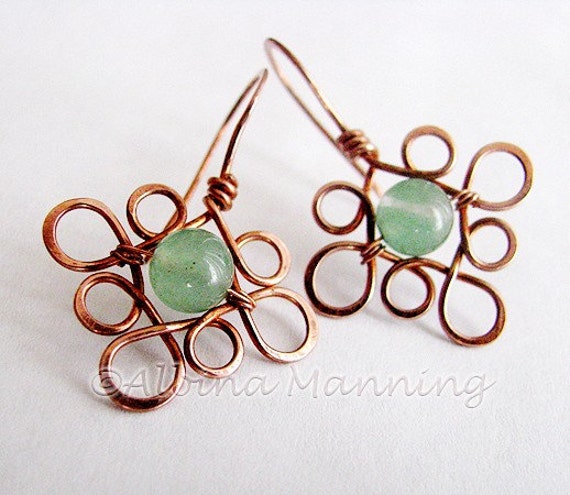
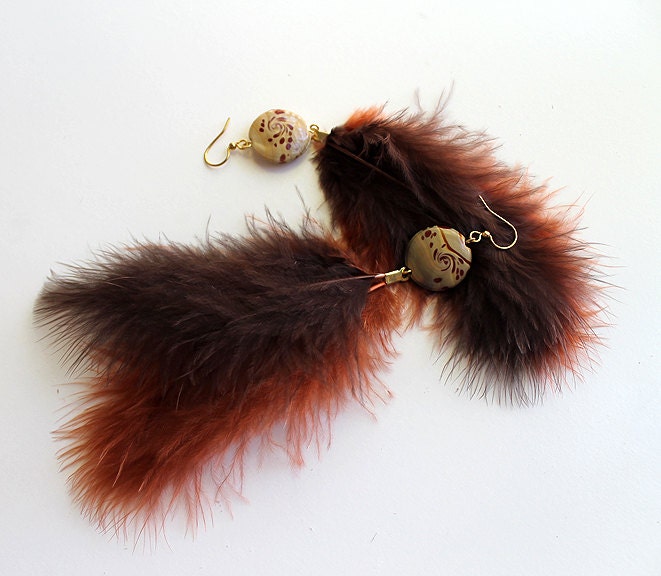
To make a pair of these earrings you will need:
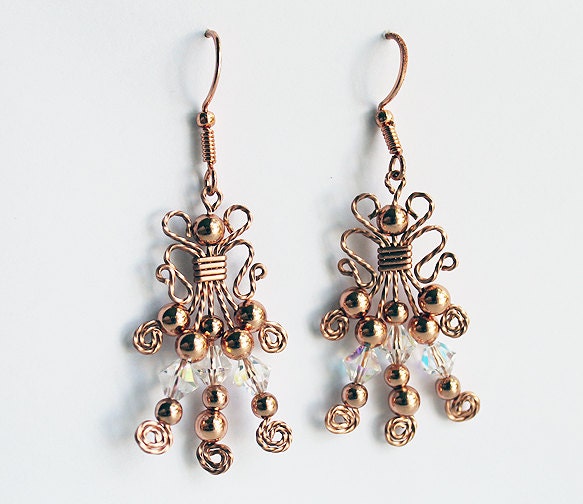
- pair of ear-wires
- cord ends - 2
- eye-pins -2
- lamp-work beads (or any beads of your choice) -2
- feathers
- round-nose pliers
- chain-nose pliers
- wire-cutters

December 1, 2012

Angel Earrings

To tell the truth, I have no time to make jewelry lately. Last night I was teaching  Intermediate Wire Wrapping jewelry class at Michaels. Today I woke up an wanted to make something with square wire! Dale Armstrong's earrings were my inspiration.
Copper and bronze wire with some copper beads :)

Available at my Etsy shop

August 15, 2012

Pink Sterling Silver Breast Cancer Awareness Bracelet & Earrings

I did not post here for a while. I was out of country - in Russia- visiting my parents. They needed (and still need) me. I had to take care of my mom who had a surgery (mastectomy)... 
So, I made this pink set, bracelet and a pair of earrings, with sterling silver wire and pink glass beads.
Size of the bracelet 7" .
Earrings are 2.5"(6.5cm) long
You can buy the bracelet and earrings at my Etsy shop.

May 9, 2012

"Wire fabric" pendant with ceramic beads

I made another pendant. This time I "turned the fabric upside down". Then, attached ceramic beads. They are pretty, aren't they?
Right side of the "wire fabric" looks like a knitted piece. Yes, I added four 2mm sterling silver beads, just for fun.
https://www.etsy.com/listing/164705432/sterling-silver-pendant-with-brown?ref=exp_listing
You can notice that three beads are attached to the loops, and two are on the sides attached without loops. Well, primary, I wanted to have only three beads, but later decided to make a company of 5, the more the better :)
The wrong other side reminds me satin weave. So, actually, this pendant is double-sided!
This pendant's size is 2"(50mm) x  1 3/4"(45mm).
Sterling silver, sterling silver filled, ceramic beads.

You can buy this OOAK pendant at my Etsy shop here

May 8, 2012

Silver Wire Woven Pendant

Today I was itching  to make something with wire:)  I did not know what exactly I wanted. Maybe something  not big, something like a... pendant. Plus, I got a  new  soldering block* which means I had to try it, and I will use my torch as well.
Sterling silver wire and lamp-work bead from MayaHoney 

April 28, 2012

'War and Peace' Earrings II

Last summer, I spent a perfect day with my friends Tanya and Alla . We visited a lot of beautiful places of northern and central Arizona. On the way back to Phoenix, we stopped at Bloody Basin and shot a few guns at a target. Well, I am not a sniper, but I found a good use for these brass bullet cases:)
I added gold filled chains, beads, natural fresh water pearls, silver plated clear crystal rondelles, and a pair of one-of-a-king earrings for brave woman was ready! I named them "War and Peace" :) I think it's just a right name for them:)
Yesterday, I made another pair of  Bullet Case Earrings with Pearls:


 These earrings will bring everybody's attention to you, I bet!

March 26, 2012

Playing with Square Wire

I am a "round" wire-worker. Actually. All my designs are made with round wire.
Last week, I ordered some square and half-round wire from Wire-sculpture. This place has not only sterling silver and gold-filled square wire, but also copper and bronze- they are in my favorite price range :)
A couple days ago I got a package and could not wait to play with new wire.
First, I wanted to make a bracelet. Or bangle...


Next, I wanted to make a ring from the book WireWork by Dale Armstrong.  Really, I love this ring.

March 22, 2012

Zigzag of Luck

Hooray! I just got the Step by Step Wire Jewelry magazine with my article in!
I submitted my design of Zigzag of Luck
April-May 2012 issue.

March 19, 2012

DIY: Crystal Dangle Earrings + Video

Spring is here, and you want to change your wardrobe and maybe, make new jewelry. Why not to make a new pair of crystal earrings? It's fun and easy!

To make a pair of earrings like mine, you will need:
  • 6mm Swarovski bicone crystals - 6
  • 2.5mm metal beads - 6 
  • 2" headpins - 2
  • Earwires -1 pair
  • Chain nose pliers, round nos pliers, wire cutters
Here, you can watch a video how to make these earrings:


PS. I thank my friend Tanya for capturing video and photos while I was making this beautiful earrings.

March 6, 2012

Basic Tools for Wirework

When you start working with wire, you need tools. Often, I am asked, "What tools do I need for wire-wrapping?" There is a huge range of jewelry tools available. I would say you need four tools for sure :) But...The more you work, the more tools you have, believe me. 
So, let's look at some tools. 

Pliers.

1 - Chain nose pliers have tapered tips, smooth jaws and slightly rounded edges for shaping and bending. They are very useful for opening and closing jump rings.

2 - Wire cutters are for cutting wire and headpins. To cut memory wire use special  memory wire shears!

3 - Nylon jaw pliers have plastic jaws. These pliers really useful for straightening wire. Hold one end of the wire between the jaws of a pair of flat nose pliers in your non dominant hand and hold the nylon nose pliers in your other hand. Place the nylon nose pliers on the wire, next to the flat nose pliers, then draw the pliers along the wire to remove any kinks and to straighten it. Notice: the more you straighten the wire, the harder it becomes!

4 - Flat nose pliers designed for making sharp bends and right angles in wire. Flat nose pliers can also grip flat objects and work well for straightening bent wire.
5 - Round nose pliers have tapered, conical jaws for making round wire loops and curves. Use them to round ends of memory wire or to loop wire for beading and wire wrapping designs. If you want to make consistent sized loops, mark the pliers with a permanent marker so that you always place your wire in the same place.

6,7 -  Bail making pliers have round, barrel-shaped jaws that help you create the perfect bail for any sized pendant.

Also, I have another extra tools that I use in my wire work.

8 - Steel bench block won't go anywhere as you work to texture, flatten and shape your metal pieces. Use this block for your metal stamping work too!

9 - Chasing hammer  has a large face for flattening and a ball-peen side for riveting and metal design.  If the head of a Chasing Hammer is totally flat, then you will mar your wire if the edge of the hammer happens to hit it. If it is too convex, there is only a small striking area in the middle. Choose a hammer that is only slightly convex.

10 - Steel Ring mandrel for forming and shaping rings sizes 1-15. Unlike plastic ring mandrels, you can use this solid metal mandrel for hammering metal. Form rings directly on mandrel!

11 - Automatic Wire twister. Twist almost any size wire at twice the speed! Also, I use the twister to coil the wire! Just love it!

12 - Pin vise for twisting short-to medium-length wires.

What's your favorite jewelry making tool?

March 5, 2012

Metal Etching - My First Try

I never thought I would do anything with metal etching. Well, never say "never", right? Thanks to Meredith Arnold, I wanted to try etching.
I had everything I needed to start:  metal (copper and nickel silver) disks, PCB Enchant (ferric chloride), Staz-On ink with rubber stamps, black ultra-fine Sharpie, washing soda, gloves...
First, I started with copper disks. I bought a small stamp with butterfly at Michaels (on sale for $2.00) and a leaf stamp for $1.00. I used to make scrap-booking cards and books. What could be easier to make a nice stamp? Hah! Paper and metal "behave" differently. If it was easy to make a leaf stamp, but my butterfly wanted to "fly" away and smear the print... I had to re-stamp it 3-4 times, I think. But I am happy with  the results.
 

February 29, 2012

DIY Tutorial: Handmade Earwires.

If you love making earrings, you always need ear-wires, right?
You can purchase commercial ear-wires almost at any craft store or on-line.
An average price for 1 pair of sterling silver hook ear-wires is $1.20, the av. price of 20-22ga sterling silver wire - $2.00/foot. To make 1 pair of ear-wires you will need 3"- 4" = $0.50- $0.65. Do you see a difference? Plus, you will have fun making them :)


OK, let's start!It's easy as 1-2-3!


Tools you will need:
Round nose pliers
Flat nose pliers
Dowel (Round pencil )

February 24, 2012

Tree of Life

The Tree of Life is an esoteric philosophy common to many cultures and mythologies, and the Ancients envisioned the entire cosmos in the form of a tree whose roots grow deep in the ground, branches reaching high into the heavens.
 My  tutorial has 9 pages with 24 steps, 27 photos.
Buy this tutorial HERE


February 20, 2012

DIY: Beaded Cactus

Do you like cacti?  I love them. I used to have a dozen of them on my window-sill. 
Today I will show how make this beaded cute cactus:)
 

Materials and Tools:
Seed beads, green, size 11/0
Craft wire 28 ga
Wire-cutters
Arranger
Clay pot
Glue (glue gun with plastic sticks) 

February 19, 2012

Video-Tutorial: S-hook Clasp

"S" clasp is a nice comfortable clasp. Handmade clasps and hooks will add a personal touch to your jewelry. Make sure you use a wire gauge that is heavy enough to produce a strong clasp for your necklace or bracelet. I generally use 14 gauge wire, but, for a delicate piece I may use 16 gauge.You can also use a jump ring with the clasp.


To make this clasp you will need round nose pliers, chasing hammer, steel bench block.
Watch my video tutorial how to make this "S"-hook clasp.

PS. Excuse my web-camera for going out of focus in some episodes.

February 16, 2012

Chain Mail Bezel for Coins and More

Not long ago, I found a Russian Saint-Petersburg Metro token at home (I guess, I brought it from my last visit of Russia) and 5 ruble coin. Turning it in my hands, I decided to make something with it since I cannot use it  here anyway:) Besides, coin jewelry has been popular since coinage began. 
I  did not want to make any holes in it, so the chain mail bezel should work. 
Jump rings are woven so that they hold the token firmly in place.
You will not believe, just  after making this "Russian" pendant, my daughter found a genuine Slovenian 1 tolar, 1995, coin and  Canadian Elizabeth Head Penny 1969 coin.  I wanted to make a bezel for them too!

February 15, 2012

Video Tutorial: Ear Wires

Ok, this is my first "home-made" video tutorial. I hope you can understand my Russian accent. Please excuse my possible mistakes in English :)


February 14, 2012

Tucson Gem Show 2012. Part 1- Fun Things

I was in Tucson for the whole week.
The Tucson Gem Shows are a collection of different events held at over 50 locations through the Downtown area.
Dozens of shows and exhibits are running at the same time.
I spent most of my time in Tucson Electric Park (I was teaching classes there).
First thing I really wanted to take picture of was this retro looking Ice-Cream Car.

February 12, 2012

DIY: Spring Flower Earrings

This lesson shows how to make 3-D (three-dimensional) spiral and use it for making earrings, pendants, etc.
Materials:
•    15” (38cm)* of 18 ga Round Soft Wire
•    Jump rings -2
•    Ear wire -2
* The length of the wire depends on the mandrel’s diameter and the number of coils.
Tools:
•    Chain nose pliers
•    Wire cutters
•    Round mandrel (or pencil)

February 8, 2012

Charming Heart Pin

For pin lovers :)You can wear this pin with or without a charm.


My tutorial will show how to create a pin from one piece of wire and how to make a heart-charm.


Tutorial has 26 steps with 29 full-color pictures.

Material List:
* 20 ga half hard round wire – 6” (pin)
* 20 ga dead soft wire – 4” (heart)
* Crystals or gem beads

Tool List:
* Chain nose pliers
* Round nose pliers
* Flash wire cutters
* Flat nose pliers

$2.90


February 4, 2012

Video Tutorial: Swan Clasp

I would like to invite everyone to view  my  Swan Clasp Video Tutorial  (click on the photo, then "start" video)

January 30, 2012

Ear Cuff

Ear cuff jewelry is great for folks who do not have pierced ears or who want the look of multiple piercings without having to have any additional ear piercings. An Ear Cuff clips to the cartilage at the edge of the ear.Ear cuffs are large and fit on the middle of the ear over the cartilage. Whether they are plain or with dangles, Ear cuffs go on the same way. 
Start at the top of the ear and slide down and push in over the cartilage. Then adjust them once, if needed so they barely fit over the cartilage at the middle of the ear. Just make sure they feel snug and secure...
 This tutorial will show how to make an ear cuff with dangle.

Skill Level - Intermediate
Buy this tutorial HERE

January 27, 2012

Work with WigJig - Part 1

To make  my jewelry I use mostly three kinds of pliers: chain nose, round nose, and flat nose pliers. Sometimes they are just not enough to make some designs. I use a special tool - wire jig that  makes  my life a lot easier when I have an intricate design I need to replicate for earrings or a design that I need to repeat.
It can be  just like this pair of earrings that look like twins :)

January 25, 2012

Beaded Flowers

Once, my Russian friend living in Japan sent me a beautiful red beaded rose as a Christmas gift. I thought, "Is it possible to make something as lovely as Mother Nature creates? Probably not, but sometimes copies can be worth that of the original." That is when I fell in love with beads and wire.
Gerbera


If you want to make a French beaded brooch or just a flower, you can buy my step-by-step instructions  and you will be able to make this design with no difficulty.
This tutorial has two parts: French beading technique (5 pages) and Brooch itself (20 steps, 9 pages).
https://www.etsy.com/listing/55990321/ear-cuff-tutorial?ref=shop_home_active_15

January 24, 2012

Giveaway Results

Hello everyone, 
Are you excited to find out who won the Wire Wrapped Pendant Giveaway?
And the winner is... Tanya!
Her comment #6 was chosen as a winner by random.org generator:

Now, the prize is already packed and soon will be shipped. 
Congratulation on your win, Tanya!
Thank you for participation, everyone!

January 21, 2012

DIY: Wire Business Card Holder

 Having a home product party or going to art show to sell your stuff ? Show off your business information in your style.You will need only 40cm (16") of heavy gauge wire and a couple of pliers :)
Are you ready to make it all by yourself?

January 18, 2012

DIY Tutorial: Wrapped Ring

The other day my friend asked me to make a ring. I made it. And I made a DIY tutorial for it too:) I knew you would love it, right?

Tools and Materials
  • 20ga round dead soft wire – 2 ft
  • 10 mm bead – 1
  • Ring mandrel
  • Chain nose pliers
  • Wire cutters
  • Liver of sulfur (optional)

January 15, 2012

Sleeping Wire Tree

I think already told you that I started my wire art with making a beaded money tree. Since then I made dozens of beaded and gem trees. I always wanted to make a "pure wire" tree. And I did it finally :).
This sleeping tree wire sculpture was made with silver tone wire. I twisted and hammered each wire end then shaped whole tree with my hands. The tree is attached to the natural rock that I found at Bloody Basin, Arizona.

January 14, 2012

Book: Mixed Media Jewelry Techniques

This is an excellent book! Written for jewelry makers of all media and skill levels, this book encourages the mixing of techniques with the skills of others to create unique designs.
The book features 9 exciting projects combining various materials into new jewelry designs for necklaces, bracelets, earrings and more. Each project brings together two or three jewelry making techniques, each of which could also be used for independent projects.

The techniques include: wire-work, beading, chain maille, lampwork, beading, macrame, bead stitching, polymer clay, PMC.
https://www.etsy.com/listing/75865374/mixed-media-jewelry-techniques-book?ref=shop_home_active_8

Size:8 1/2" x 11". 80 pp. Soft cover
 Look inside:
Buy this book HERE

January 13, 2012

Beaded Tea Rose

The other day I was making a tea rose for my friend...beaded rose on wire of course :)


  I love making these little beauties. Only 8 petals, 6  sepals, stamen, and 10 leaves for 1 flower :)

DIY: Wrapped Rectangular Pendant

I have a habit of collecting beautiful, large gemstone beads. This is one of the ways I use wire to make a stylish pendant with them. 
Please notice that I use craft or florist wire to plan my design. When I am happy with the results, I create the finished item using a precious metal wire, in this case sterling silver. Although the following pattern uses a specific sized bead, by using my formula you can plan and make these pendants from about any size!
Materials for one pendant:
* 1 rectangular shaped gem bead, approx. 1 ¼”x 1 ¼
* 22ga round soft wire* with 1 foot of wire you can make 3 wraps around 1 ¼”x 1 ¼” bead.

Tools needed:
- Wire cutter
- Round nose pliers
- Flat nose pliers

 Formula: Wire: 1 foot for each desired 3 complete wraps around a bead + the length of the bead +2 inches

 1. Clean, straighten and then cut the 22g wire length needed. Measure and mark one inch from one end and use round nose pliers to make a simple loop (which will become the bail). Do not cut any wire!


2. After making the loop, bend the short end of the wire down at a 90° angle, so it lies next to the longer wire length. Insert this wire into the bead at the end you desire to be the top of the pendant.
**Note: If the bead hole is not big enough for both wires, make a wrapped loop instead of simple loop, trim the short tail and insert the wire into bead hole.
3. Leaving 1/8 inch of wire between the bottom of the loop and the top of the bead, bend the wire on the bottom toward what you choose to be the back of the bead/pendant.

4. From the bottom of the bead, on the back, measure up the bead 1/4 of the way and make a 90° angle in the wire, heading toward one side of the bead. Continue to wrap the wire around the entire bead, ending up again on the back.
5. On the back, thread the end of the wire under the first angle made, and carefully pull to tighten it around the bead. Measure up the bead to about the halfway point and make another 90° angle in the wire, heading it back toward the same side it just came around, beginning to "net"
6. Repeat the same procedure used in step 5, continuing to "net" the bead until you have reached the top of the bead, on the back. 
7. Bring the end of the wire to the top of the bead and use it to wrap around the top loop/bail, wrapping from the top of the bead up, toward and ending immediately under the loop/bail, and trim.
8. If you like the look of the straight wires going across the pendant, your piece is now finished. 
Front                                        Back
 9. However if you would like to add "waves" on the front of the pendant, place flat nose pliers on the wire where you desire, and give a slight twist. Repeat wherever you would like, always twisting in the same direction. 

I hope you enjoyed this tutorial.
  Please do not distribute, lend or copy. Do not mass produce.


See more tutorials at my shop here