How much fun it is to be able to use round craft wire and a few
"found" items to make a fashionable item! Instead of using buttons, you
can substitute large flat beads, add your own flair with a few accent
beads, use colored craft wire, and you're making a new ring in just a
few minutes.
This is a great crafts project for young girls at a party or on a rainy afternoon, too!
 Materials:
20ga round read soft wire - 2ft
2.5mm round metal beads - 8 (your button may require more beads, depending on its size)
4-hole button
Tools:
Chain nose pliers
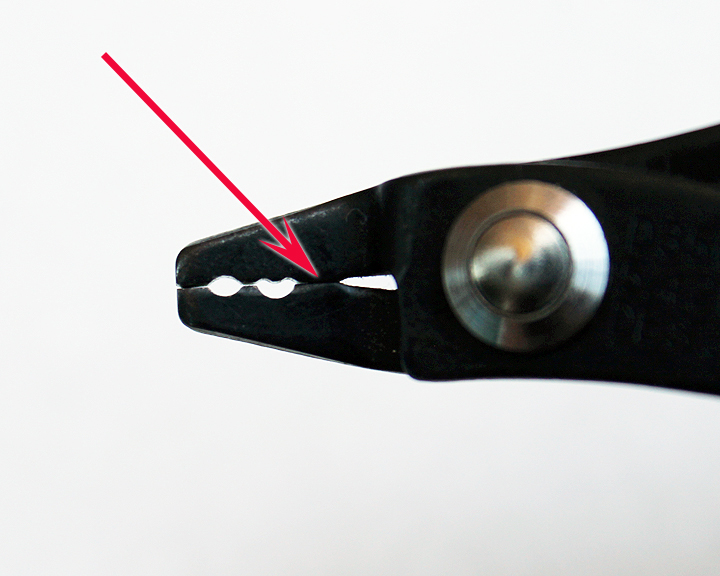
Wire cutters
Ring mandrel
Ruler

This is a great crafts project for young girls at a party or on a rainy afternoon, too!

20ga round read soft wire - 2ft
2.5mm round metal beads - 8 (your button may require more beads, depending on its size)
4-hole button
Tools:
Chain nose pliers
Wire cutters
Ring mandrel
Ruler
Instructions